First, we had to find the right balloons. We got packs of assorted balloons from Party City and pulled out the skinny balloons. My advice would be to buy one pack and open it to see if it has the correct size that you need. I'm not positive that the link above has the correct size since we purchased our balloons in store. You are looking for the long skinny balloons on the right. (Note: Balloon animal balloons will not work! Way too long and thin.)
We then blew up the balloons and added a rubber band for a neck. I used a pump to blow up the balloons.
Next it was time to mache! We had newspaper prepped and cut into strips. We actually had enough left over from last year because you really don't need a much as you think you do!
Each child got a paper plate with their class # on it.
We used a half glue/half water mixture and paint brushes.
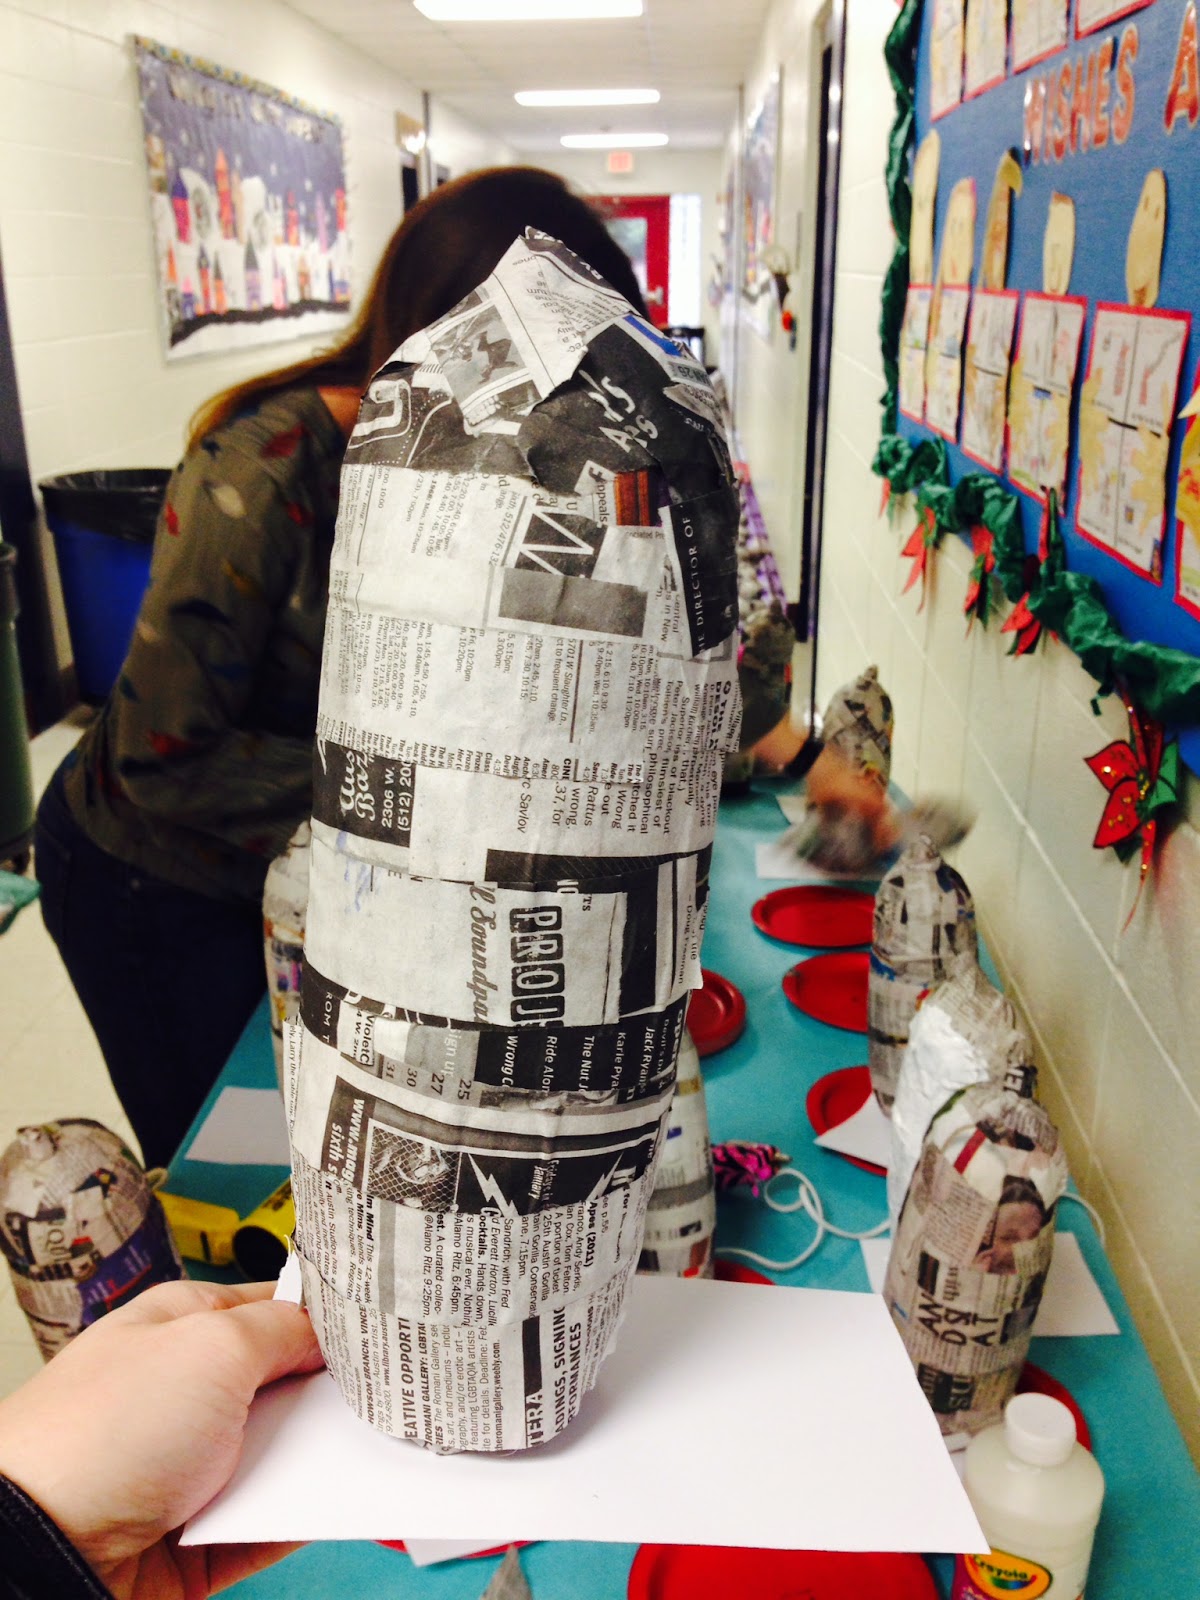
Tips: I had one parent at each table. They helped keep the paper smooth and ensure they added enough layer (they need 3.) Make sure the kids place the strips around the balloon (not up and down.) This will help keep things smooth. They will likely need to tear their strips in half or thirds. They will need very small pieces for the rounded areas (head and bottom.)
This is ONE layer...and no beak. Adults formed the beaks when everything was finished because this is the hardest part. (The beak is formed around the tip of the balloon.) They REALLY need 3 layers. I have a few cracked heads because some kids did not put enough layers.
Once everyone was finished, we put them in the hallway to dry!
We used a hair dryer to try and speed up the drying process. It helped! Last year we really over-saturated the balloons and some took 3 days to dry! This year was much better and all were dry by the next morning. I had to use the hair dryer on just a few damp spots on day 2.
On Day 2 morning, I had parents come and pop the balloons and hot-glue bases (white poster board squares) so they could stand up during painting. They also painted the bellies white so the kids would just have to paint around the dry white paint that afternoon. You could easily have kids paint the bellies in the AM and the rest in the PM, or do it all at the same time! I had the help so I used it.
Day 2 afternoon I had parents come in again to help with the painting. We had one adult with each penguin group. This time they were in their penguin groups since we studied 5 different species and they don't all look the same. (Hello, Little Blue!)
Day 3 morning, I had some amazing parents come up and finish things up! They replaced the bases (the others were covered in paint), labeled them, hot-glued the wings, tails and feet, and did some touch up painting where little painted fingers got on white bellies.
I had the wings, tails and feet pre-cut by fabulous parent volunteers. You could easily have the kids cut these themselves if you don't have many volunteers. I just drew wings and tails and copied them on black cardstock. The feet were just copied on orange construction paper.
This is as far we've gotten at this point. They still need googly eyes and feathers for the Rockhopper and Macaroni penguins. I'll add that on Monday. Here are some pics of the final products from last year. We set the penguins up in colonies in our hallway for our annual open house.
I think that's everything! If you're interested in studying about the different penguin species, check out my All About Penguins unit in my TPT store. Not only have we paper-mache'd penguins, we've also researched them and created keynote and pic collage presentations!
Have a great weekend!


No comments:
Post a Comment